
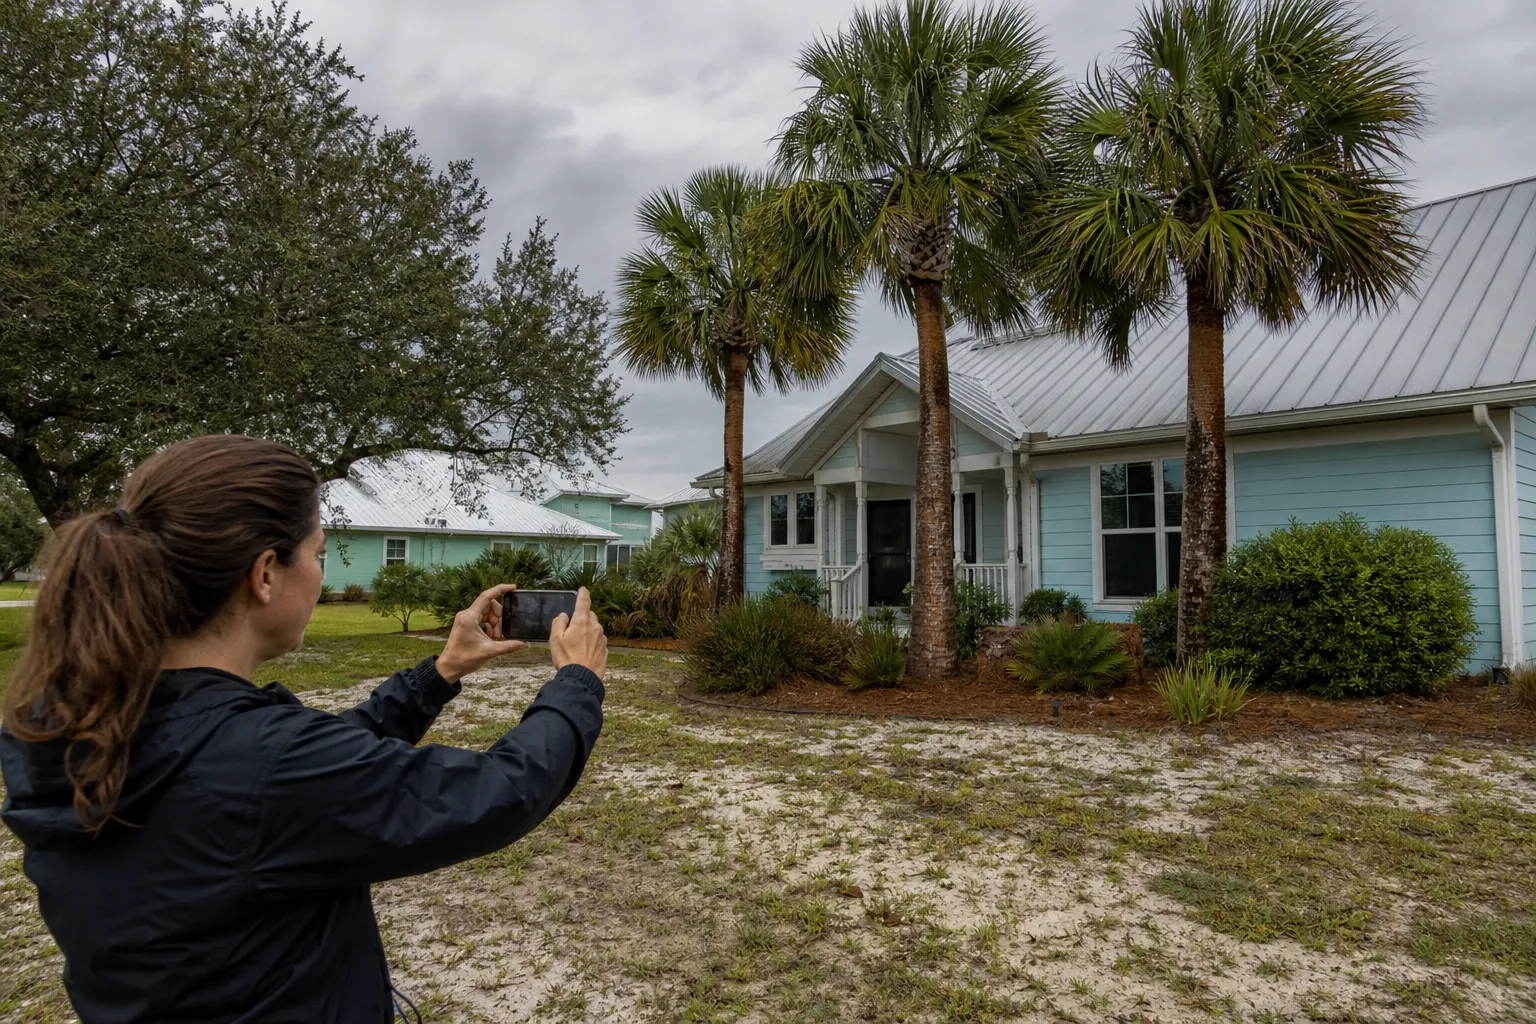
Record your yard before hurricane season with dated overview photos, close-ups of existing damage, drainage notes, and a simple inventory of loose materials. For Flagler County property owners, the goal is a clear baseline: what was already present, what needs attention, and where debris could be collected without blocking access.
Good records help you compare conditions later, explain a cleanup request, and distinguish older yard waste from newly fallen material. They do not replace an insurance policy review, a tree assessment, or official weather guidance. They make those conversations more specific.
This guide to yard condition records before hurricane season in Flagler County focuses on documentation rather than a full preparedness checklist. For broader planning, see our hurricane-season yard readiness guide for Northeast and Central Florida. Daytona Grapple Trucks can also discuss debris hauling needs, with service availability confirmed for your address.
What should your yard condition records include?
A useful record includes the date, property location, repeatable photo viewpoints, existing concerns, and an inventory of materials that may need removal. Keep it simple enough that you can update it after landscaping work or a cleanup.
Start with one folder for the property and a short written summary. A phone camera and a notes app are usually enough. If several people maintain the yard, agree on the same folder and naming method so records do not become scattered.
- Record the date and approximate time of each walkthrough, along with whether the yard was dry or recently wet.
- Photograph the front, back, and side yards from positions you can safely use again.
- List existing branch piles, cut vegetation, loose landscape materials, and bulky outdoor items separately.
- Note visible fence damage, broken irrigation components, leaning objects, or other conditions that already exist.
- Identify gates, driveways, overhead obstacles, and areas where a collection vehicle should not travel.
Use neutral descriptions. “Fence panel leans toward the driveway” is more useful than “fence is unsafe” when you have not obtained a professional assessment. Likewise, record what you can see on a tree without trying to diagnose its structural condition.
For rentals or shared properties, identify who completed the walkthrough and who should receive updates. Avoid including tenant belongings or personal information unless they are necessary to document the property condition.
How do you take photos that remain useful later?
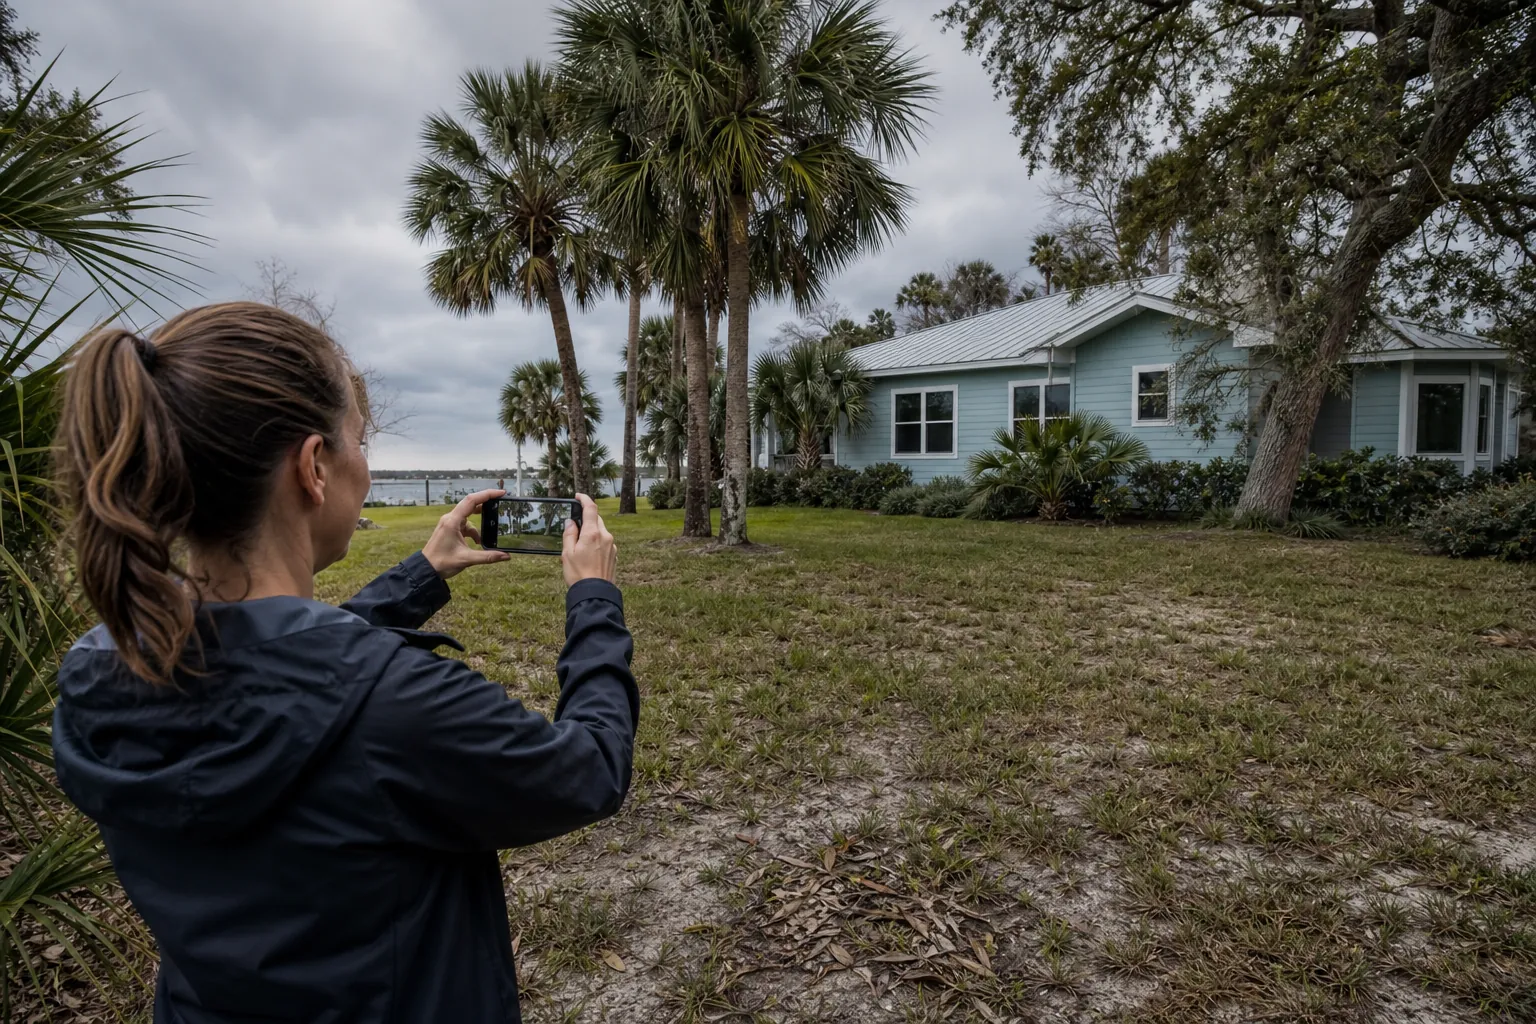
Take wide views first, then medium views and close-ups. That sequence connects each detail to its location and prevents a folder full of isolated pictures that are difficult to interpret.
Stand at recognizable reference points, such as a driveway corner or gate opening. Keep the camera direction consistent. If you revisit the property after heavy rain or wind, matching those viewpoints makes comparison easier.
- Begin with a street-facing overview that shows the driveway, yard edge, and nearby access features without exposing unnecessary personal details.
- Walk the property perimeter where access is safe and photograph each side of the yard.
- Capture each existing debris pile from two angles so its footprint and height are easier to understand.
- Photograph visible preexisting damage with enough surrounding detail to establish its location.
- Take separate pictures of drainage features, gate openings, and possible collection areas.
- Review the images before finishing and retake any that are blurry, dark, or missing important context.
For scale, place a tape measure beside a pile or object only when it is safe to approach. Do not climb onto debris, enter standing water, or stand beneath damaged limbs for a better photograph. Approximate measurements with clearly labeled uncertainty are preferable to unsafe precision.
A short video walkthrough can supplement photographs. Narrate locations and visible conditions, but keep individual still images too. Photos are easier to attach to a hauling inquiry and compare side by side.
Keep original files when possible. An annotated copy can highlight a concern, while the original preserves the unedited view. Camera timestamps can be helpful, but they should not be your only record of when a walkthrough happened.
Which drainage conditions should you document?
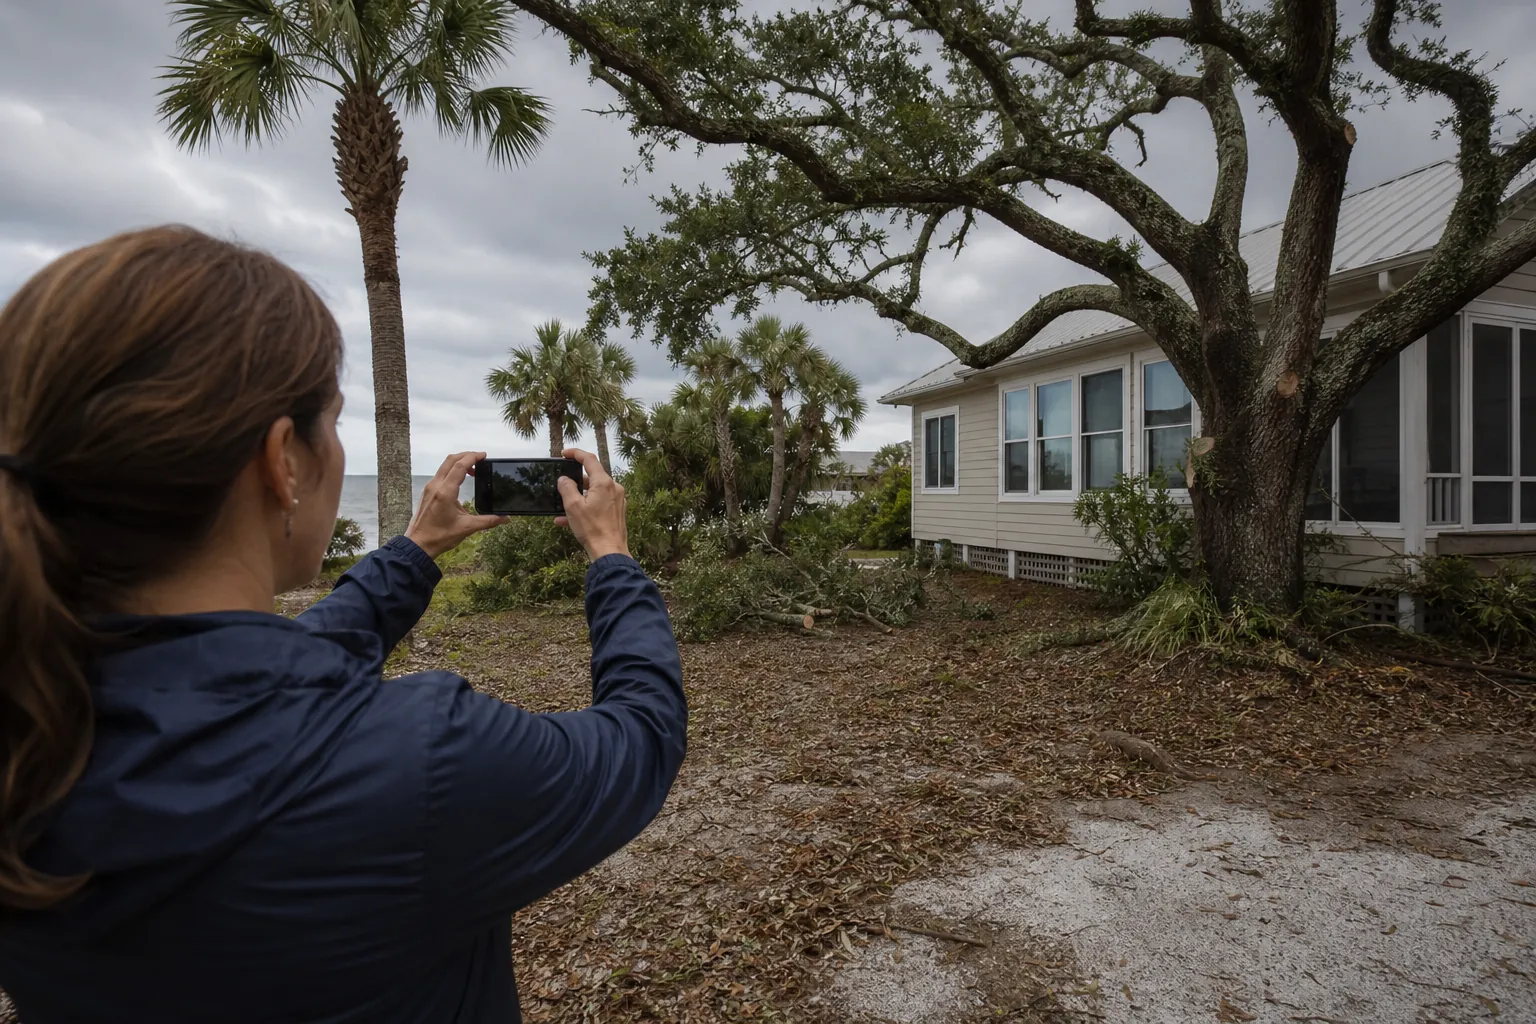
Document where water collects, where it appears to travel, and what material is near that path. These observations can help you plan maintenance without guessing at the cause of a drainage problem.
Take dry-weather photos of visible swales, downspout outlets, low areas, and drainage openings. If water later collects and you can observe it safely from a dry location, record the location and approximate extent. Do not enter flooded areas to measure depth.
- Note leaves or small branches resting near a visible drainage opening rather than assuming the entire system is blocked.
- Record whether a debris pile sits in a low area or across an apparent surface-water route.
- Photograph downspout discharge locations and any nearby loose mulch or cut vegetation.
- Describe standing water by location and observation time, without assigning a cause you cannot verify.
- Keep drainage observations separate from conclusions about grading, underground pipes, or neighboring properties.
A note such as “water remained beside the rear gate at 4 p.m.” gives useful context. A statement such as “the neighbor caused flooding” goes beyond what a photograph alone establishes.
Do not modify public drainage features or move debris into a roadside ditch to clear your own yard. If you are unsure who maintains a feature, check with the appropriate property manager or local authority before taking action.
These records support maintenance discussions; they are not a drainage design. Repeated ponding, erosion, or water approaching a building may require evaluation beyond debris hauling.
How should you record yard debris for a hauling discussion?
Describe each pile by material, approximate size, location, and access. A clear inventory gives a hauling provider a better starting point than “there is a lot of yard waste.”
Separate the record into vegetation, bulky items, and other materials. Do not assume that every item can go into the same load. Tell the provider about mixed contents before combining piles or moving material.
- Identify whether the vegetation includes branches, palm fronds, shrubs, logs, or other cut material.
- Estimate each pile's length, width, and height, and label those measurements as approximate.
- List soil, rocks, lumber, metal, plastic, or household items separately if they are present.
- Disclose hidden or partly covered items that may not appear clearly in photographs.
- Explain whether the pile is already accessible or still scattered throughout the yard.
Keep chemical containers, batteries, unidentified liquids, and other potentially hazardous materials out of a vegetation pile. Ask about appropriate handling rather than assuming a grapple truck pickup is suitable.
Photograph the route to the pile as well as the pile itself. Show gates, driveway edges, low branches, utility lines, parked vehicles, and nearby structures. Do not decide on your own that a truck can fit simply because a passenger vehicle can pass through.
If cleanup occurs later, the post-hurricane yard debris staging guide for Daytona offers related staging considerations. Treat it as a separate cleanup resource, not as confirmation of collection rules or service availability at a Flagler County address.
Where should you note collection access and sensitive areas?
Mark potential collection locations and nearby features, but confirm placement before moving a large pile. Grapple truck debris hauling requires more than a visible pile: the operator also needs suitable access and room to work.
A rough property sketch can connect your photos to the layout. Label the driveway, gates, buildings, trees, utility features, and existing pile locations. It does not need professional drafting or exact surveying dimensions.
- Mark irrigation heads, valve boxes, septic components, or other known features that may be hidden by grass or debris.
- Show mailboxes, fences, parked vehicles, and landscaping near the proposed collection area.
- Identify overhead wires and branches without attempting to measure clearance near electrical equipment.
- Note soft ground, steep transitions, narrow entrances, or damaged pavement along the possible access route.
- Keep sidewalks, drainage paths, and emergency access clear while discussing a collection plan.
A photo may reveal an obstacle that is easy to overlook in a phone description. However, photos cannot establish ground-bearing capacity or guarantee equipment clearance. A provider may need additional information before agreeing to a placement.
For related examples, see contractor debris pile access considerations in Volusia County. The access principles can inform your questions, but any local requirements still need confirmation for the actual property.
Do not use a generic distance from a mailbox, road, or utility feature as a substitute for site-specific guidance. Record the feature and ask where the pile should go.
How do you organize and update the record?
Use one dated folder per walkthrough, backed up somewhere other than your phone. Add a brief summary of changes so you can understand the record without reviewing every image.
A filename such as “2026-05-15_back-yard_gate-view” is more informative than an automatically generated number. You can also leave camera filenames unchanged and create a photo index that explains each image.
Your summary should state what changed since the previous walkthrough. Examples include removing a branch pile, repairing a fence panel, moving outdoor furniture, or completing landscape pruning. Keep receipts or work descriptions with the corresponding update when available.
Photograph the area after debris removal. An empty collection spot establishes a new baseline and helps distinguish later accumulation from material that was already there. If some material remains, document it plainly rather than describing the entire yard as cleared.
Set a practical review schedule. Update the folder after significant landscaping, before leaving the property unattended for an extended period, and whenever a known concern changes. Frequent identical photographs add less value than well-labeled records of meaningful changes.
Share only what the recipient needs. A hauling provider generally needs material, location, and access information, not your insurance documents or a complete household inventory. Store sensitive records separately and avoid public links that expose your address or belongings.
What should you do with the records before conditions deteriorate?
Use the record to prioritize safe maintenance and decide which tasks need professional help. Documentation is most useful when it leads to removing avoidable clutter, clarifying access, and addressing visible concerns while conditions allow.
Start with loose items and existing debris that you can manage safely. Secure or relocate outdoor objects according to their intended use. Discuss large vegetation piles, heavy logs, or difficult access with an appropriate provider rather than improvising equipment use.
Do not prune near power lines, cut a visibly unstable tree, or climb onto structures to improve the record. A photograph from a safe location is enough to flag a concern for a qualified professional.
Check official forecasts and local instructions separately from your yard file. This article provides evergreen documentation advice, not a current storm advisory or a statement that Flagler County is under a watch or warning.
Across Florida's Atlantic corridor, from Jacksonville and St. Augustine through Palm Coast, Daytona Beach, New Smyrna Beach, Titusville, Cocoa, and Melbourne, the same documentation method can help property owners organize information. That regional advice does not establish Daytona Grapple Trucks' service coverage in every listed community.
For a Flagler County hauling discussion, call Daytona Grapple Trucks at (386) 481-7913. Have your address, pile photos, material list, and access notes ready, and ask the team to confirm availability and suitable next steps.
Frequently asked questions about yard condition records
Do yard photos guarantee an insurance claim will be paid?
No. Photos can provide a condition record, but coverage and claim decisions depend on your policy and the insurer's review. Ask your insurer what documentation it recommends and retain the original files.
Should I photograph the yard before removing existing debris?
Yes, if you can do so safely. Take a baseline photo before removal and another afterward. Label both dates so the record shows which material was removed and which conditions remained.
Do I need exact debris measurements?
No. Approximate length, width, and height are useful for an initial discussion. Explain how you estimated them, include photos, and let the hauling provider determine whether more information is needed.
Can I move everything to the curb first?
Not automatically. Confirm acceptable placement and material handling before creating a roadside pile. Do not block sidewalks, drainage, access routes, or visibility, and check applicable local collection instructions separately.
What if branches are touching utility lines?
Stay away and contact the utility or appropriate emergency resource for guidance. Do not move the branches or approach the lines for photographs. Document only from a safe location.
How long should I keep the records?
Keep the baseline and relevant updates long enough to support your maintenance, hauling, and any insurance needs. Ask your insurer about its documentation expectations rather than relying on a universal retention period.
A useful yard record is accurate, repeatable, and easy to share. You do not need an elaborate inspection report. Clear photographs, honest descriptions, and a few access notes can make your next cleanup conversation much more productive.
Call (386) 481-7913 to talk through next steps.